
A contractor’s technical handbook for composite fencing installation on slopes, retaining walls, and complex sites.
Introduction: Real Yards Are Rarely Flat
A professional fencer knows that a “perfect square” backyard does not exist.
Monday, you’re hitting bedrock. Tuesday, you’re fighting a steep, muddy grade. By Wednesday, you’re trying to marry up clean composite panels with rugged stone walls.
Need the basics first? If you are working on a standard flat site and need a walkthrough on costs and materials, start with our Comprehensive Composite Fence Installation Guide (Board & Post).
But if you are facing slopes, walls, or complex ground, keep reading below.
You do not need different suppliers for these jobs. You need a modular fencing system installation that adapts to them.
MecoFence provides a universal toolkit. Whether you are dealing with high winds, rock, or irregular angles, we have the hardware to solve it.
See why builders call this the most versatile system in our guide: 7 Reasons MecoFence WPC Fence Fits Any Terrain.
This guide covers every installation scenario you will face in the field.
Composite Fencing Installation on Soil, Concrete, and Walls
The anchor is the most critical part of any composite fencing installation. If the connection fails, the fence fails. We offer specific mounts for every ground type.
Case 1: Standard Soil or Clay (Deep Embedment)
The Scenario: Typical residential backyard. The Fix: Use the Post Concrete Embedment method.
Protocol: Dig 600mm-800mm deep.
Critical Step: Add 100mm of gravel at the bottom. This prevents frost heave and allows water to drain away from the aluminum.
Pro Tip: Use our Extended Length Posts to account for the buried section.
Case 2: Concrete Patios or Driveways (Surface Mount)
The Scenario: Existing hardscape that cannot be removed. The Fix: Use the Concrete Embedded Steel Base.
Protocol: Mark your centers. Drill pilot holes. Secure the steel base with 4x heavy-duty expansion bolts.
Result: The aluminum post slides over the base, hiding all bolts. No ugly flanges. No patching required.
Case 3: Retaining Walls (Face Mount)
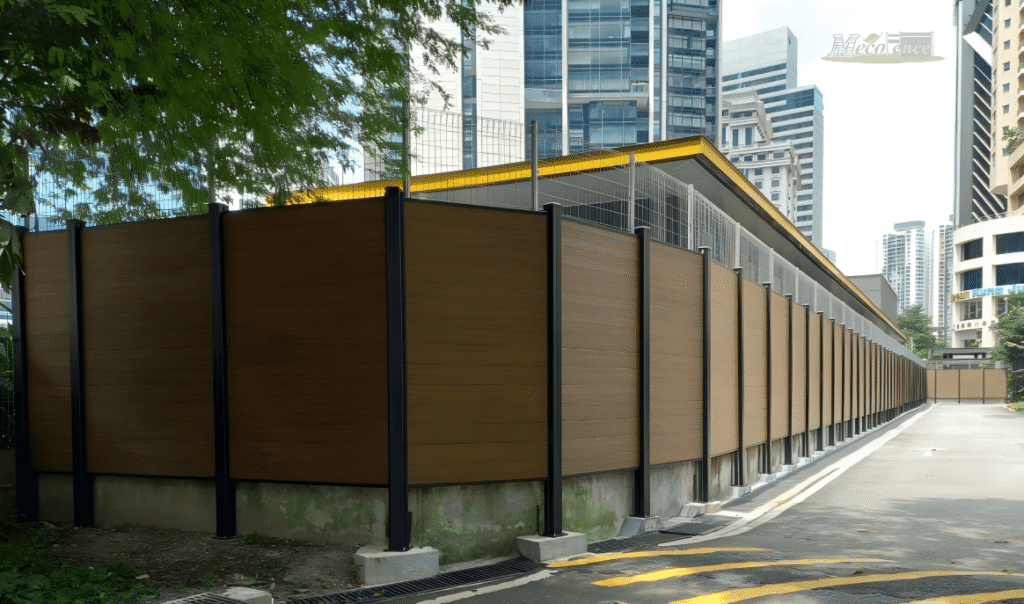
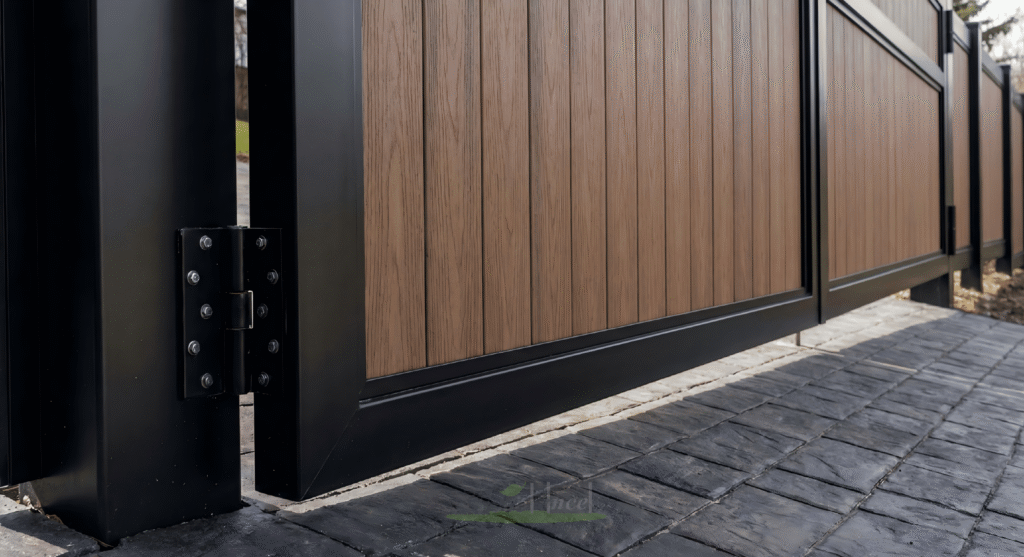
The Scenario: A narrow stone wall where top-mounting would crack the capstone. The Fix: Use Front Wall Mounting or Wall Corner Mounting brackets.
Protocol: Bolt the brackets into the vertical face of the masonry.
Benefit: This preserves the wall cap and pushes the fence to the property line, maximizing usable yard space.

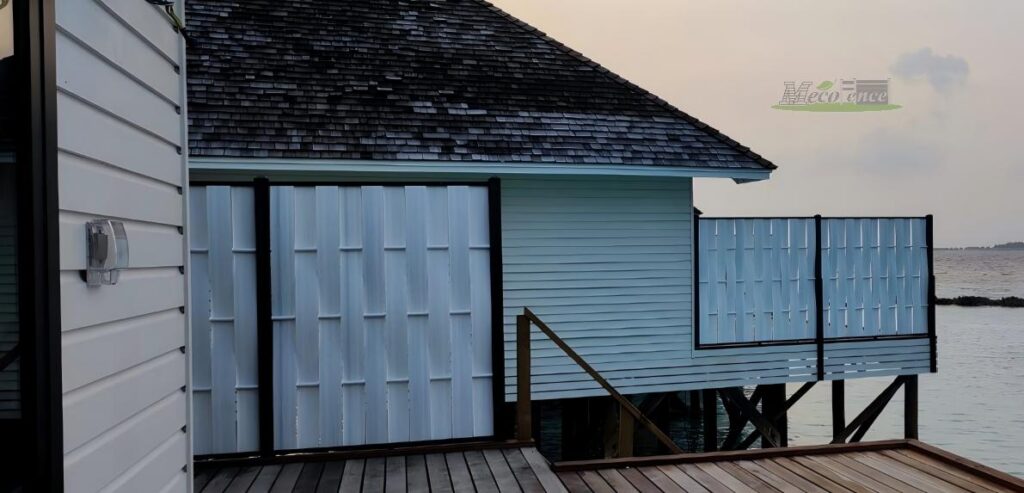
Case 4: Elevated Decks (Fascia Mount)
The Scenario: A raised deck where floor space is precious. The Fix: Use Corner Fascia Deck Brackets.
Protocol: Lag bolt the bracket into the structural rim joist of the deck.
Benefit: Keeps the deck surface 100% clear for furniture and foot traffic.
Modular Fencing System Installation Strategies for Slopes
Sloped yards are the #1 challenge in modular fencing system installation. Here is how to handle elevation changes without compromising stability.
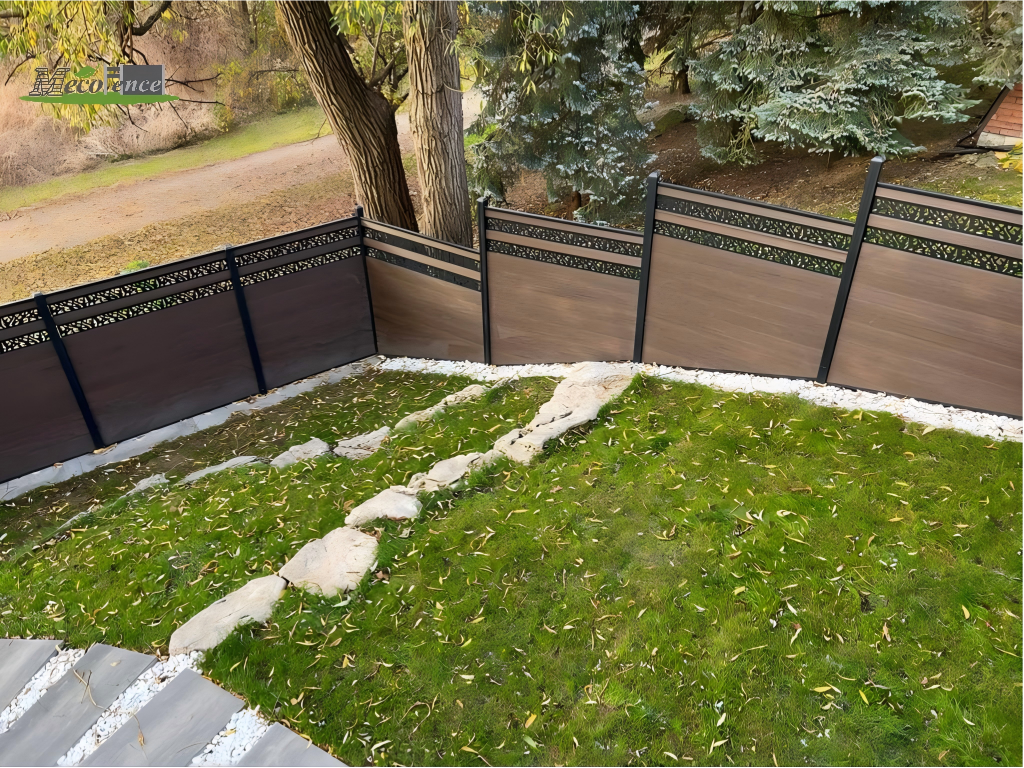
Case 5: The “Stepped” Method (Recommended)
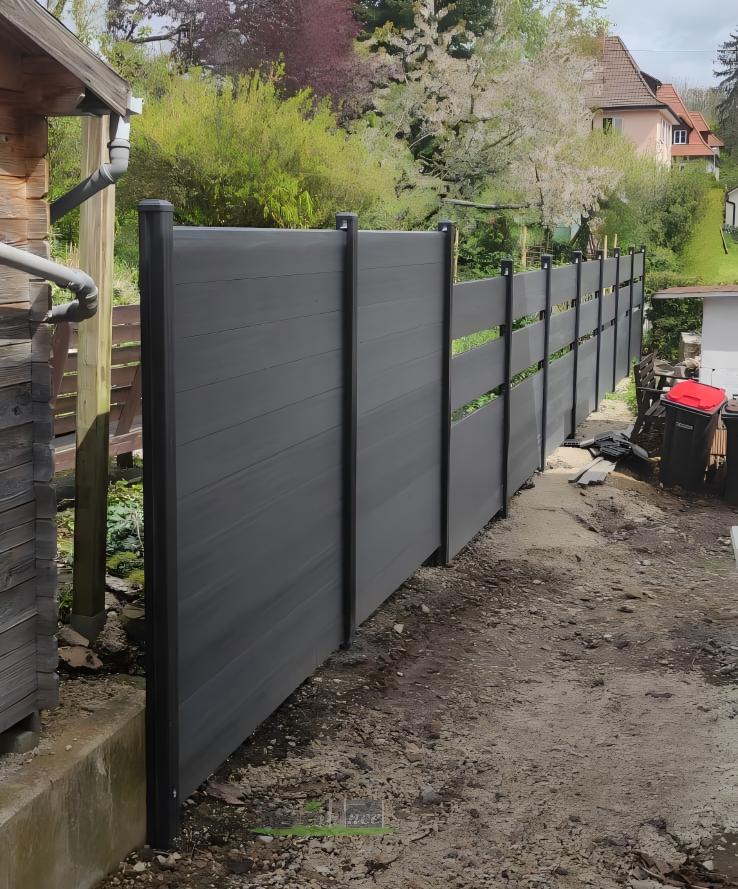
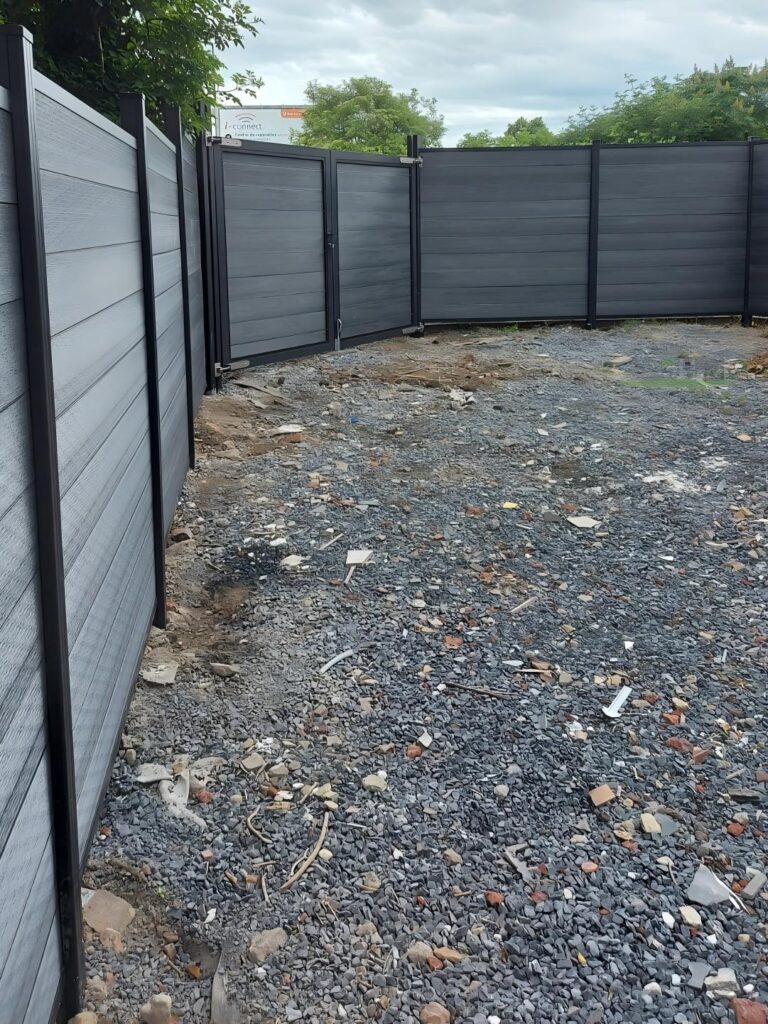
The Scenario: Steep or moderate hills. The Strategy: Keep panels level; drop the height at each post.
Execution: Install the downhill post bracket lower than the uphill one.
Gap Management: Use a Sleeper Board or extend the U-Channel to the ground to seal the triangular gap underneath. This stops pets from escaping.
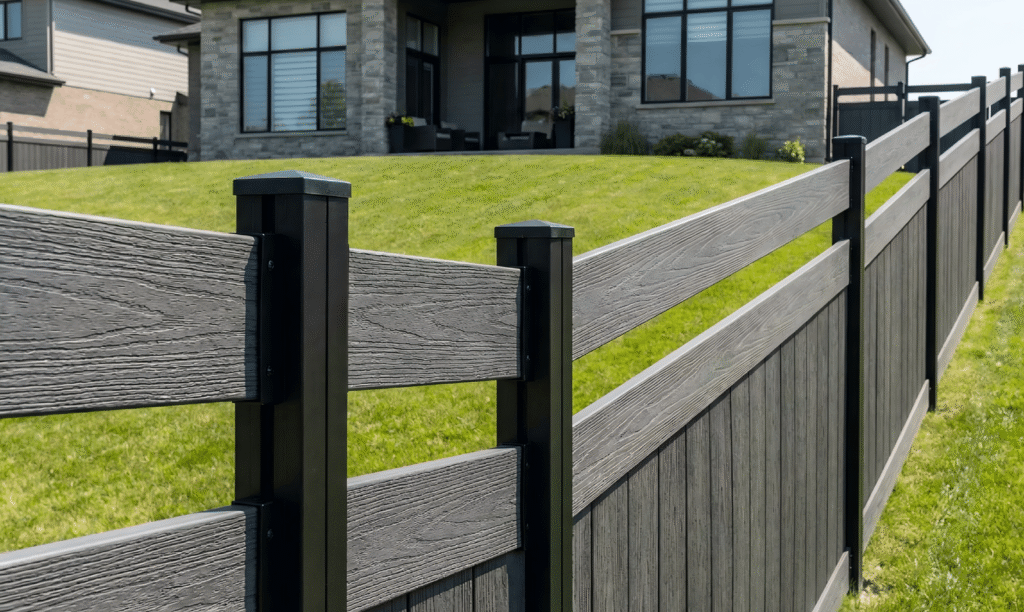
Case 6: The “Racking” Method (Gentle Grades)
The Scenario: Very slight inclines where a gapless look is desired. The Strategy: Angle the rails to follow the ground.
Limitation: Only possible with specific panel styles. “Stepping” is generally preferred for panel longevity as it keeps the joints square.
Case 7: Gates on Slopes
The Scenario: A driveway or path on a hill. The Fix: Never rack a gate; it will drag on the ground.
Protocol: Hang the gate on the uphill post so it swings out towards the decline (away from the hill).
Hardware: Use our heavy-duty adjustable hinges to fine-tune the swing alignment so it clears the grade.
Handling Irregular Angles in Composite Fencing Installation
Property lines rarely turn at 90 degrees. Standard square posts fail here. We make composite fencing installation easy on crooked lots.
Case 8: Acute & Obtuse Corners
The Scenario: A property line turning at 135° or 45°. The Fix: The Rotatable U-Channel System.
Protocol: Our posts are octagonal or multi-slotted. Simply rotate the U-Channel adapter to face the exact angle of the next post.
Result: You can turn any angle without cutting or forcing the panel.
Case 9: Curved Boundaries
The Scenario: A fence line that follows a winding road. The Fix: Segmented Angles.
Protocol: Use short panel spans (e.g., 1.2m) and adjust the angle at each post by 10-15 degrees. This creates a smooth curve effect using straight components.
Hybrid Installations: Combining Stone Gabions & Composite
Modern landscape architecture often blends industrial materials with warm wood textures. The MecoFence system integrates seamlessly with stone structures.
Case 10: Gabion Stone Wall Integration
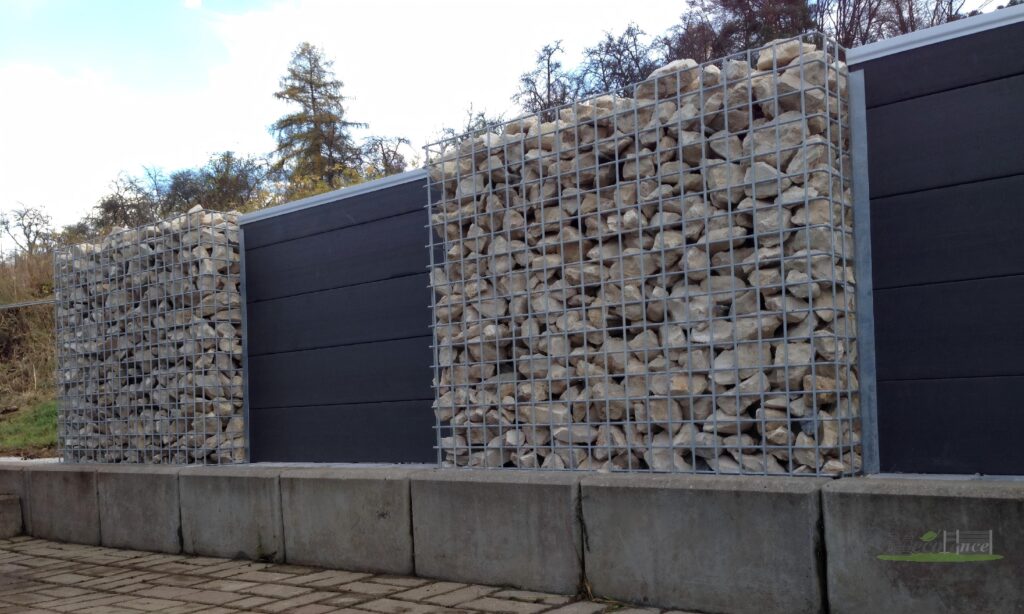
The Scenario: A hybrid fence design featuring alternating sections of composite panels and wire stone cages (Gabions) for a high-end aesthetic. The Fix: Alternating Module Installation.
Foundation: As shown in our field tests, this setup works best on a continuous concrete curb or foundation block to support the heavy weight of the stones.
Protocol:
Layout: Mark the exact width of your Gabion baskets (typically 1m or 2m).
Post Placement: Install MecoFence aluminum posts tightly against the planned Gabion positions.
Fill & Finish: Install the composite panels first, then place and fill the wire cages. The rigid aluminum posts provide a straight vertical edge for the Gabions to align against.
Visual Impact: The dark grey composite contrasts beautifully with white limestone, creating a premium “feature wall” effect.
High-Wind Reinforcement for Modular Fencing Systems
For coastal or open-field sites, structural integrity is non-negotiable in your modular fencing system installation.
Case 11: High-Wind Zones
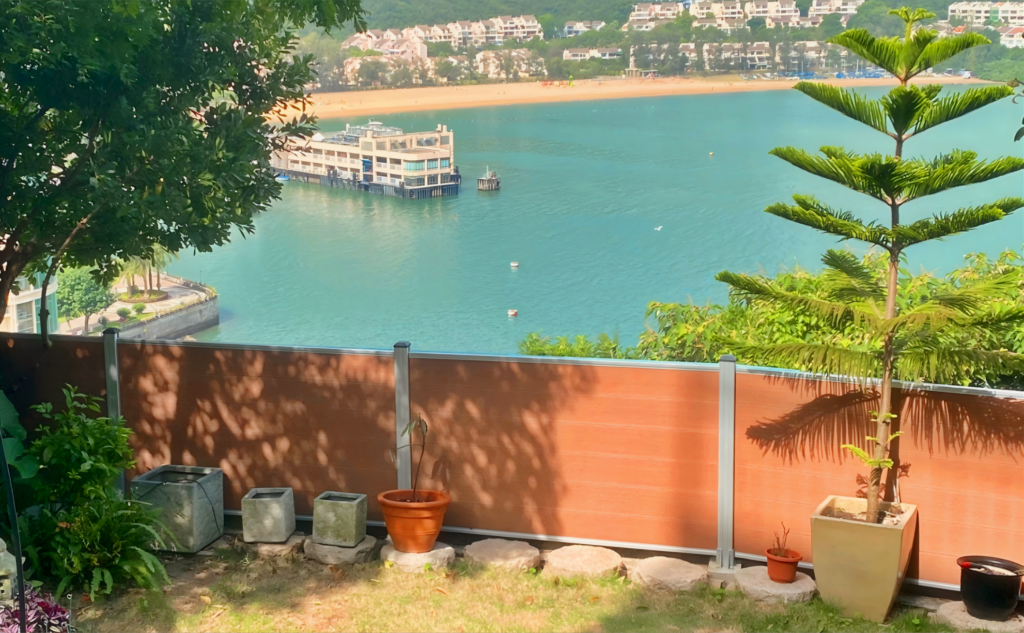
The Scenario: Coastal properties or storm-prone valleys. The Fix: The Patented Aluminum Fence Post.
The Tech: Unlike hollow vinyl, our posts feature internal structural ribbing. This “skeleton” resists bowing under high pressure.
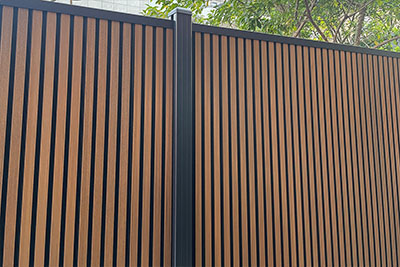
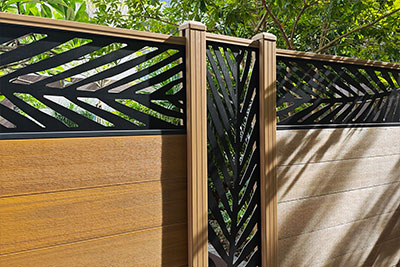
Design Choice: Opt for Trellis or Woven styles to allow airflow, reducing wind load significantly.
See the engineering data on wind loads here: Storm-Proof Composite Fencing: Why Interlocking Matters.
Why Contractors Prefer This Modular Fencing System Installation
You want a system that installs fast and doesn’t generate callback complaints.
1. Speed & Adaptability If you hit an unexpected pipe or rock, you can switch from “Embedment” to “Surface Mount” instantly. The system is modular.
2. Forgiveness in Measurement Our U-Channel system hides cut edges. If your cut is 5mm off, the channel covers it. The client sees a perfect finish every time.
3. Durability (No Rot) Stop replacing warped wood. MecoFence is “install and forget.”
See how we upgraded a failing natural fence in our case study: Bamboo to Composite Fence Transformation.
Conclusion: The Universal Solution
There is no “perfect” job site. But there is a perfect system.
From retaining walls to rocky hills, MecoFence modular fencing system installation protocols cover every inch of ground. Do not hack together a solution. Use the system engineered for the pros.
Facing a tough installation? Send us your site plans. Our engineering team will specify the exact brackets and posts you need.
[Contact MecoFence Technical Support]
Time needed: 3 days
A guide to installing MecoFence modular composite fencing on slopes, concrete, and walls.
- Select Your Ground Anchor
Determine your surface. For soil, dig 600-800mm deep and use concrete embedment with a gravel base. For concrete patios, use the Steel Base Anchor with expansion bolts. For retaining walls, use Face-Mount brackets.
- Choose Your Slope Strategy
Assess the grade. For steep hills, use the “Stepped Method” by lowering the brackets at each post to keep panels level. For gentle slopes, use the “Racking Method” to angle the rails parallel to the ground.
- Adjust for Angles
If the property line turns at an irregular angle (not 90 degrees), rotate the U-Channel adapter on the post to match the boundary line before sliding the panel in.
- Final Securement
Slide the composite panels into the U-channels. If in a high-wind zone, ensure the aluminum posts have internal reinforcement ribbing.